Main Page: Difference between revisions
No edit summary |
|||
| (160 intermediate revisions by 3 users not shown) | |||
| Line 1: | Line 1: | ||
The goal of this wiki is to provide a collection of juggling patterns, organized into "learning paths" that contain patterns of increasing difficulty. |
|||
== Theory == |
|||
a.k.a "what do all the numbers mean" |
|||
The wiki tries to answer the question: |
|||
* Entry point [[Siteswap]] |
|||
<center><b>"What should I try learning next?"</b></center> |
|||
and also: |
|||
<center><b>"I want to learn this (for me right now difficult) pattern, how do I get there"</b></center> |
|||
== Beginning Passing == |
|||
Teaching people passing clubs. |
|||
For the pattern labeled as "assymetric", one of passer is supposed to be far more advanced than the other, who needs no previous experience. |
|||
There are many other juggling resources, but most of them do either provide no difficulty rating - or neglegt that there is more than one type of difficulty that a juggling pattern can have. Here, I tried to group patterns with common traits and also a common set of difficulty-types. |
|||
=== Zaps // Candlestick throws === |
|||
Entry points are provided for each type of throw, as each kind of throw needs a different throwing technique. |
|||
* [[ Throwing first Zaps ]] |
|||
* [[ zap zap zip ]] |
|||
| ⚫ | |||
These entry points are labeled as "Beginning with [...]" and primarily focus on building proficiency with a single throw type before progressing to more complex patterns that incorporate multiple throw types. |
|||
| ⚫ | |||
| ⚫ | |||
* [[ throwing the first normal passes ]] |
|||
== Before All Else (TODO) == |
|||
| ⚫ | |||
| ⚫ | |||
| ⚫ | |||
== Entry Patterns == |
|||
* [[ assymetric n-count vs 1-count ]] |
|||
* [[ 5-club 1-count ]] |
|||
* [[ 720 - zip-pass ]] |
|||
* [[ 5-club 2-count ]] |
|||
These patterns are suitable for beginners. It helps a lot if one juggler is more experienced. All patterns only use one throw type (on the beginner side). Note that being suitable for beginners does not in all cases mean that these patterns are easy if you already have experience passing clubs. |
|||
== "Selfless Passing" (Zips and Passes) == |
|||
<gallery heights=300px widths=300px mode="packed-overlay"> <!--mode="packed-hover"--> |
|||
* [[ inverted parsnip ]] - 4 clubs - PZZPZ |
|||
image:one-zap2.svg | link=Beginning Zaps | <font size=+1> Beginning Zaps</font> |
|||
* [[ parsnip ]] - 5 clubs - PPZPZ |
|||
image:one-pass-notext.svg | link=Beginning Single Passes | <font size=+1> Beginning Single Passes</font> |
|||
* [[ PPPPZ ]] - 6 clubs |
|||
image:selfs.svg | link=Beginning Selfs - Juggling 3 Clubs| <font size=+1> Juggling 3 Clubs Alone</font> |
|||
* [[ 7-club 1-count ]] |
|||
</gallery> |
|||
== Single-Passes // Zaps == |
|||
| ⚫ | |||
<gallery heights=250px widths=350px mode="packed-overlay" align="left"> <!--mode="packed-hover"--> |
|||
The purpose of this wiki is to help you find the 1-3 new juggling patterns or tricks, that you want to try next. There are many resources on juggling patterns available on the net, but I often found myself overwhelmed by a long list of patterns of varying difficulty without a clear indicator on what single pattern to try out. |
|||
image:one-pass-notext.svg | link=Selfless Passing|<font size=+1> Selfless Passing<br> 4 to 7 clubs </font> |
|||
image:N-count.svg | link=Selfs and Passes|<font size=+1> Selfs and Passes</font> |
|||
image:N-count-zaps.svg | link=Selfs and Zaps|<font size=+1> Selfs and Zaps</font> |
|||
image:zapnips.svg | link=Zapnips (Zaps on Parsnips) | <font size=+1> Zaps on Parsnip </font> (Passes + Zaps) |
|||
</gallery> |
|||
== |
== Theory == |
||
<gallery heights=300px widths=300px mode="packed-overlay"> <!--mode="packed-hover"--> |
|||
image:Theory.svg | link=Siteswap | <font size=+1> Siteswap - Juggling Math |
|||
</gallery> |
|||
There is often no clear difficulty comparison between two patterns, because there is more than one type of difficulty in juggling. One can imagine them as difficulty dimensions - like axes on a coordinate system. A pattern can be easier than another one on one axis, but more difficult on another. |
|||
| ⚫ | |||
Types of difficulties include: |
|||
<gallery heights=300px widths=300px mode="packed-overlay"> <!--mode="packed-hover"--> |
|||
* height of throws |
|||
image:7-club-2-count.svg | link=Double Passes | <font size=+1> Double Passes |
|||
** number of high throws |
|||
</gallery> |
|||
** difference in height between highest and lowest throw |
|||
* length and/or complexity of sequence |
|||
== Heffs (Double Selfs) == |
|||
Things that push your level back towards beginner: |
|||
<gallery heights=300px widths=300px mode="packed-overlay"> <!--mode="packed-hover"--> |
|||
* different object to juggle (ball vs club vs ring) |
|||
image:why-not.svg | link=Why-Not Family |<font size=+1> Why-Not Family </font> |
|||
* different type of throws (crossed arms/mills mess, body throws in pattern) |
|||
image:popcorn.svg | link=Popcorn Family |<font size=+1>The Popcorn Family<br>(7clubs w heffs)</font> |
|||
</gallery> |
|||
== |
<!-- == Holy Grail == |
||
[[learning the 3 ball cascade]] |
|||
Ok, I included this too early, because it was such a good story, although I hadn't progressed there myself. |
|||
[[first steps after 3 ball cascade]] |
|||
The Patterns I collected aren't so good trainings patterns, as we figured out when trying ourselves because in period 5, the double passes trigger each other, which makes the patterns unstable more quickly, as any bad double pass leads to another bad double pass and onto a downward spiral |
|||
<gallery heights=300px widths=400px mode="packed-overlay"> <!--mode="packed-hover"--> |
|||
image:DragonsGrail.jpg | link=Quest for the Holy Grail|<font size=+1>Quest for the Holy Grail<br>(zaps+double passes)</font> |
|||
</gallery> |
|||
--> |
|||
== Other Juggling Resources == |
|||
[[goal 4 ball fountain]] |
|||
[[Other Juggling Resources]] |
|||
| ⚫ | |||
== |
== Unfinished == |
||
* [[goal 7 club 1-count]]: parsnip series |
|||
[[Todo]] main page overview of unwritten pages |
|||
* [[why nots]] |
|||
* [[ half-synchronous n-counts ]] 4 count and friends |
|||
* [[list of asymmetric passing patterns]] patterns with different difficulty for both passers |
|||
== 3 Jugglers == |
|||
== 4 Jugglers == |
|||
== 5 Jugglers == |
|||
== 6 Jugglers == |
|||
== N Jugglers == |
|||
| ⚫ | |||
Latest revision as of 20:27, 11 August 2024
The goal of this wiki is to provide a collection of juggling patterns, organized into "learning paths" that contain patterns of increasing difficulty.
The wiki tries to answer the question:
and also:
There are many other juggling resources, but most of them do either provide no difficulty rating - or neglegt that there is more than one type of difficulty that a juggling pattern can have. Here, I tried to group patterns with common traits and also a common set of difficulty-types.
Entry points are provided for each type of throw, as each kind of throw needs a different throwing technique.
These entry points are labeled as "Beginning with [...]" and primarily focus on building proficiency with a single throw type before progressing to more complex patterns that incorporate multiple throw types.
Entry Patterns
These patterns are suitable for beginners. It helps a lot if one juggler is more experienced. All patterns only use one throw type (on the beginner side). Note that being suitable for beginners does not in all cases mean that these patterns are easy if you already have experience passing clubs.

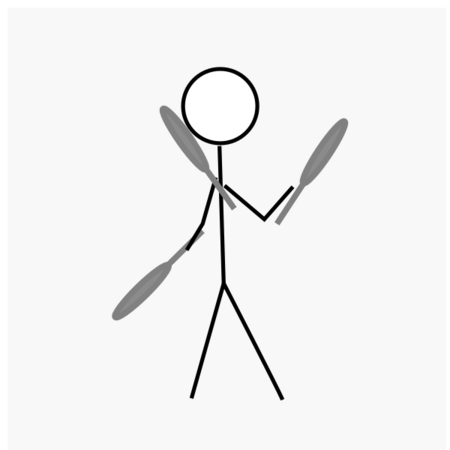
Beginning Zaps

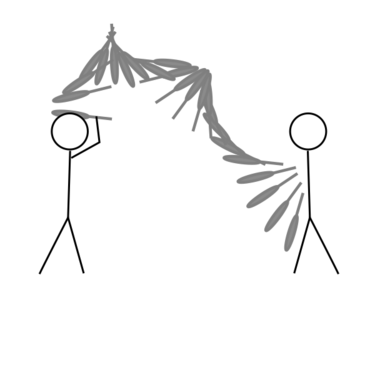
Beginning Single Passes
Juggling 3 Clubs Alone
Single-Passes // Zaps
Selfless Passing
4 to 7 clubs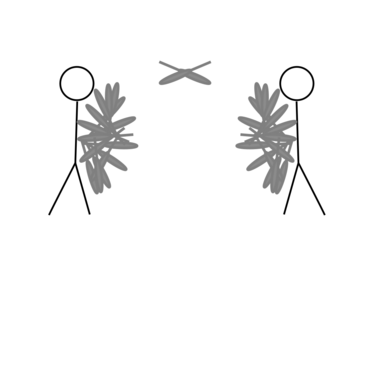
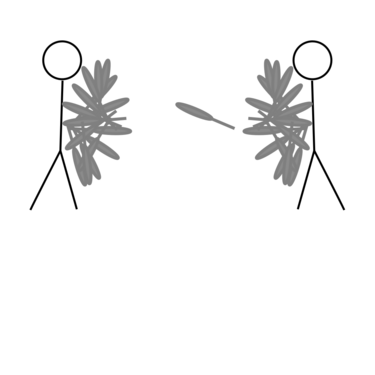
Selfs and Passes
Selfs and Zaps
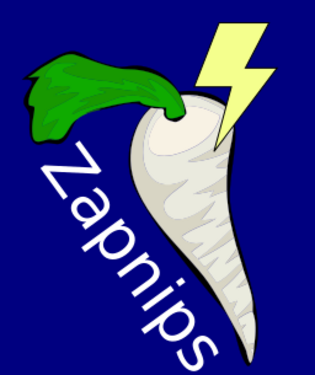
Zaps on Parsnip (Passes + Zaps)
Theory

Siteswap - Juggling Math
Double Passes

Double Passes
Heffs (Double Selfs)

Why-Not Family
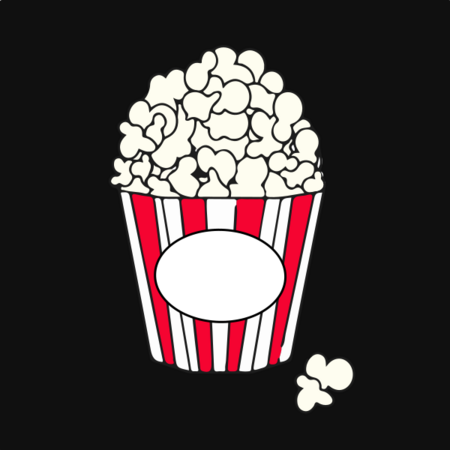
The Popcorn Family
(7clubs w heffs)
image:DragonsGrail.jpg | link=Quest for the Holy Grail|Quest for the Holy Grail
(zaps+double passes)
</gallery>
-->
Other Juggling Resources
Unfinished
Todo main page overview of unwritten pages